
3 Layer Engineered Structure

Multilayer Engineered Structure

Engineered Flooring Advantage

Specifications
| Flooring Type | Prefinished | Species | Maple/Hard Maple |
| Color | Brown | Shade | Medium/Neutral Shade |
| Finish Type | Urethane | Gloss Level | Low-Gloss |
| Application | Residential | Core Type | Multi-Ply |
| Profile | Tongue & Groove | Edge Type | French Bleed |
| Maximum Length (in.) | 48 | Minimum Length (in.) | 20 |
| Average length (in.) | 33 | Width (in.) | 5 |
| Thickness (in.) | 0.55 | Radiant Heat Compatible | No |
| Below Grade | Yes | Installation | Floating, Glue Down, Nail Down, Staple Down |
| Certification | CARB II | Wear Layer Thickness (mm) | 3 |
| Surface Finish | Distressed, Handscraped | Finish Warranty (in years) | 25 years |
| Structural Warranty (in years) | 25 Years | Country of Origin | China |
| Packaging Dimensions (inches) | Height: 4.75 Length: 84 Width: 5 | Product Dimensions | Height: 9/16" Length: 15 3/4 - 47 1/4" Width: 5" |
| Sqft / Box | 17.5 | Proposition 65 | Attention California Residents |
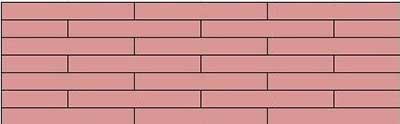
Design Type

Click Type

T&G Engineered Flooring

Unilin Engineered Flooring
Finish Type

Hand-scraped Brushed Engineered Flooring

Light Wire-Brushed Engineered Flooring

Smooth Surface Engineered Flooring
Veneer Grade

ABCD engineered flooring

CDE engineered flooring

ABC engineered flooring

AB engineered flooring
Certificate


Product Process


Our Market

Applications


Project 1


Project 2


 How to Install Engineered Wooden Flooring
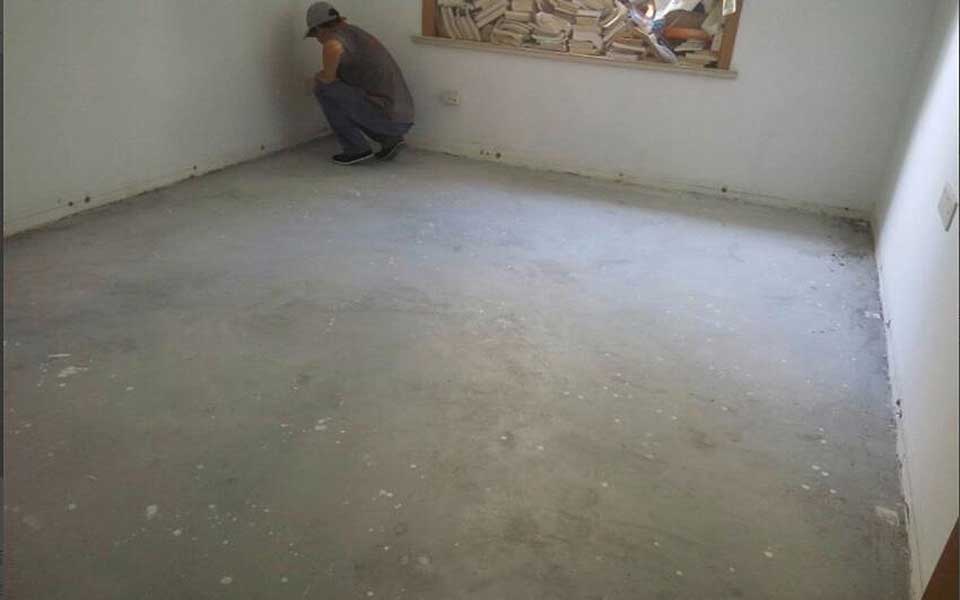
STEP 1.
Clean the ground, shovel the cement protruding from the ground, and then use a broom to clean it up. The sand and cement slurry on the ground must be thoroughly cleaned, otherwise it will rustle after installation!
Remarks:
The floor can be laid only when the moisture content of the ground is less than 20, otherwise, the floor will become moldy and arched after laying it!
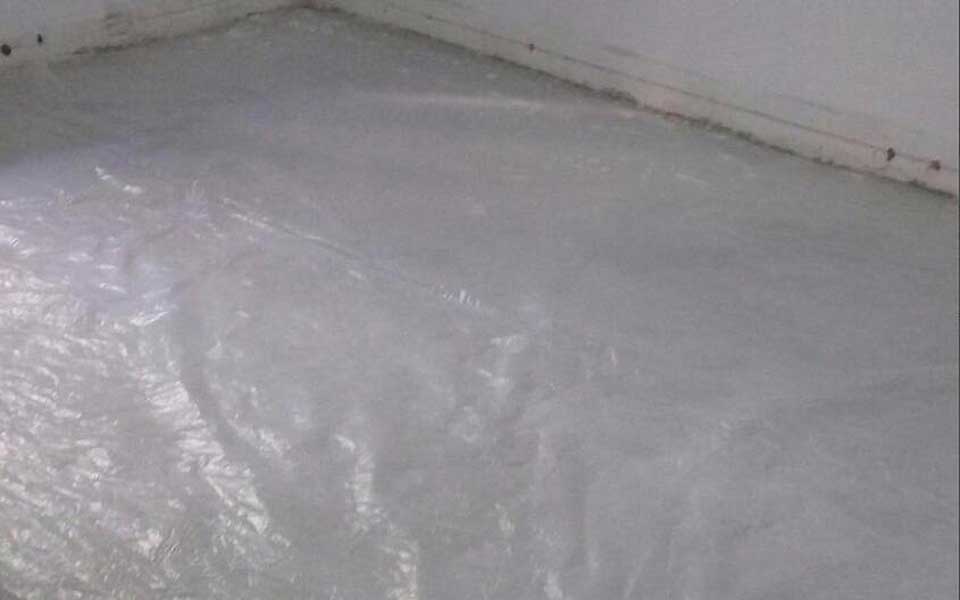
STEP 2.
After all the ground is cleaned, spread a thin layer of plastic film, which should be completely covered, and the joints should be connected to separate the floor and the ground.
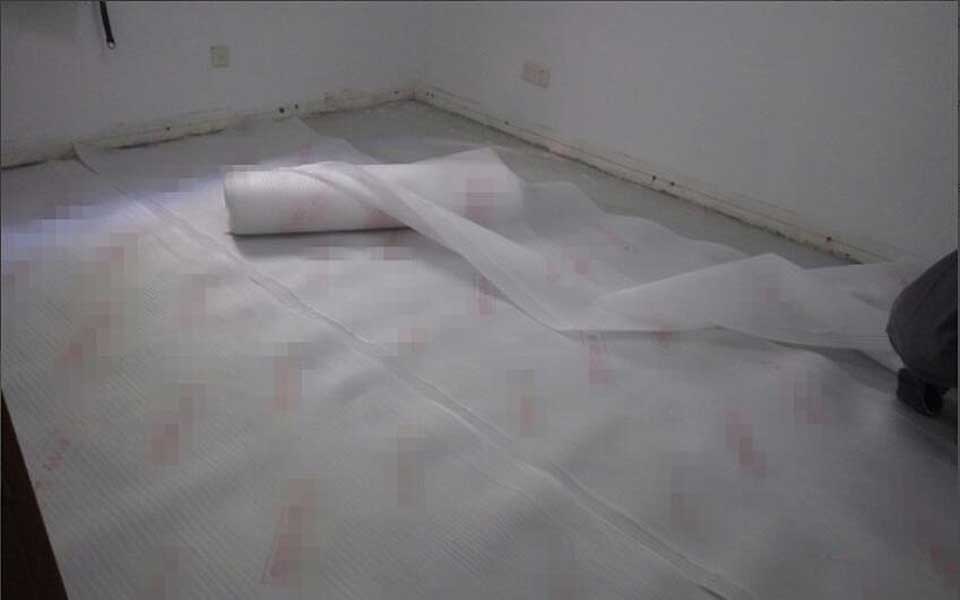
STEP 3.
After laying out the plastic film, lay the special mulch film on the floor. It should also be leveled and laid solid. It is best to have two people help.
STEP 4.
After laying the mulch, the installer took out a lot of floors from the box and spread them all on the ground, choosing the color difference, placing the big color difference under the bed and closet, and spreading it on the obvious place with uniform color difference.
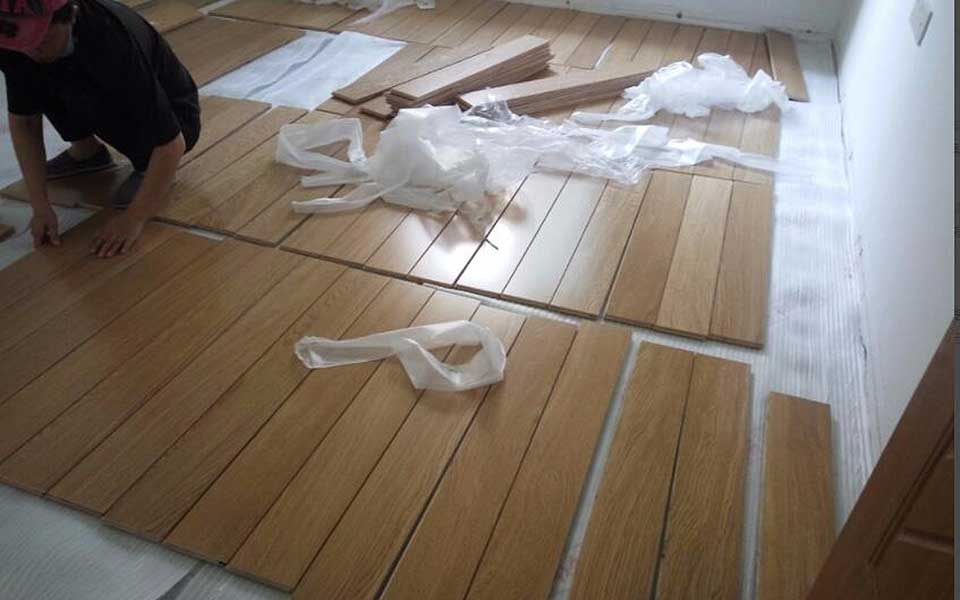
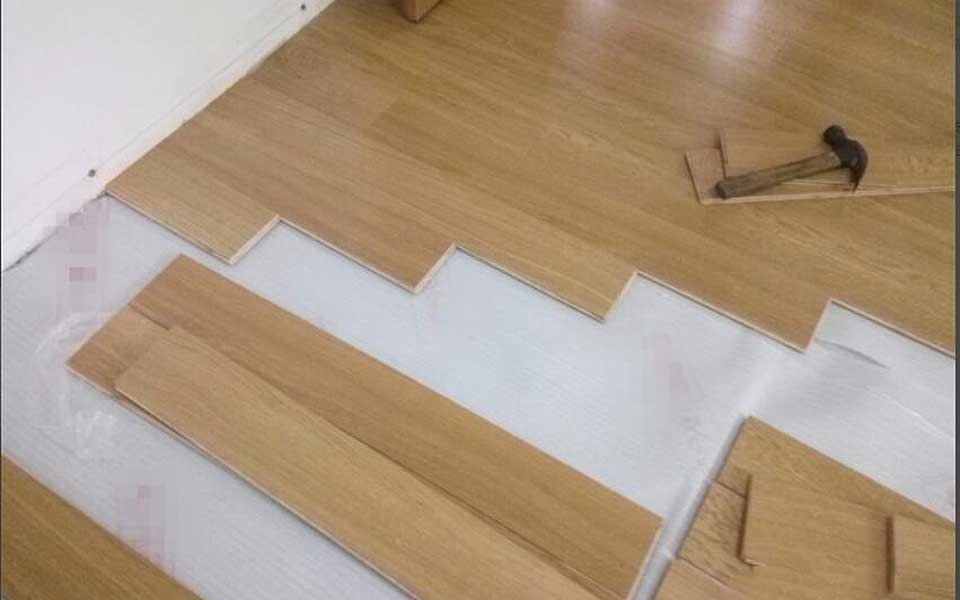
STEP 5.
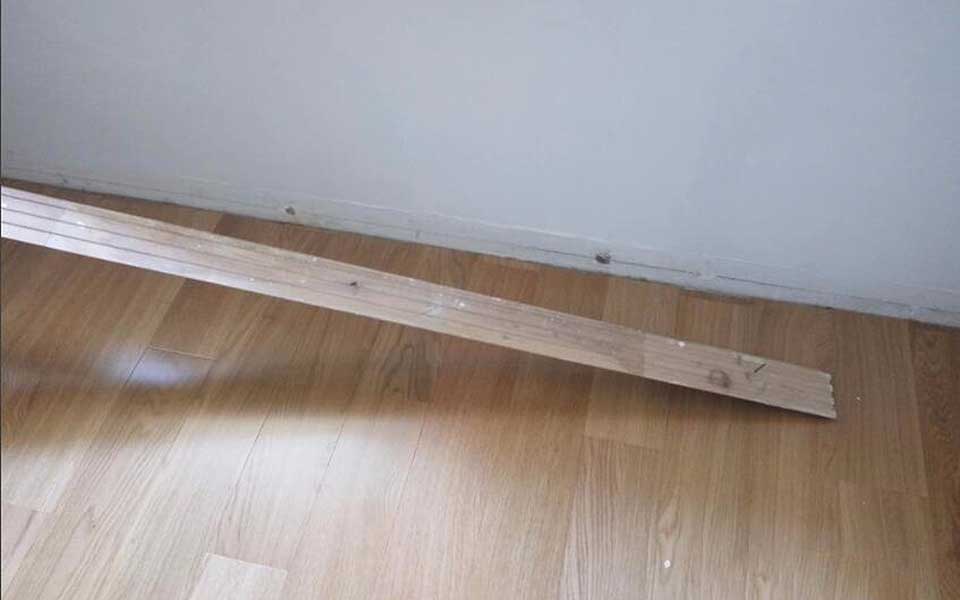
Start the formal installation of the floor. The installation master cuts the floors one by one, and then installs them as shown in the following figure. Just use a hammer to tighten between the floor and the floor. The installation master is very skilled and the installation speed is very fast! Leave a distance of about 1 cm between the floor and the wall.
STEP 6.
If the floor is too long, put it on the floor cutter and cut it to the required length. The cutting machine cannot be placed directly on the floor tiles. In order to prevent the pit from being smashed out, a thick cardboard should be placed on the floor.

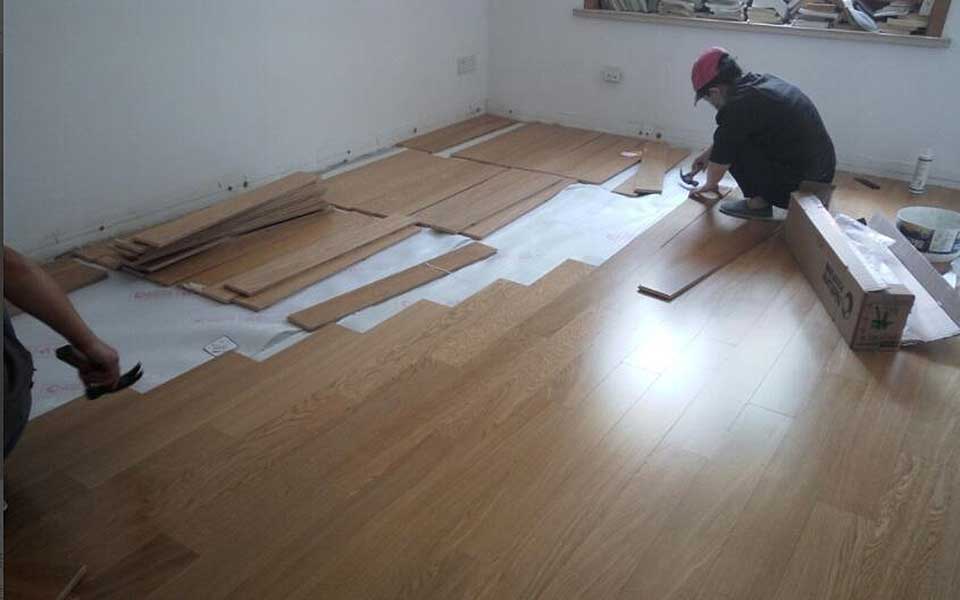
STEP 7.
Generally, the installation of the floor is carried out by 2 people, a total of about 35 square meters, and it only took 6 hours in total.
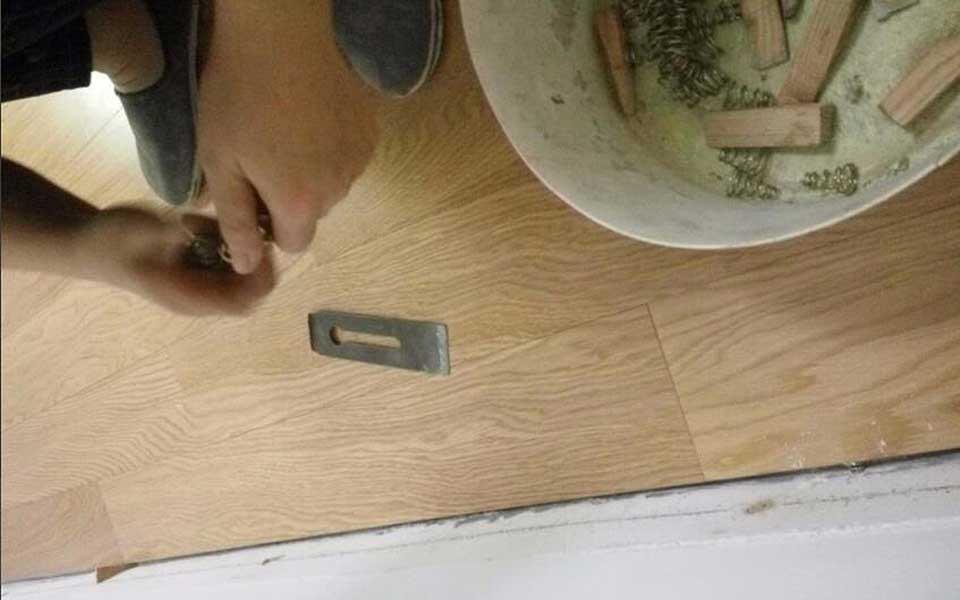
STEP 8.
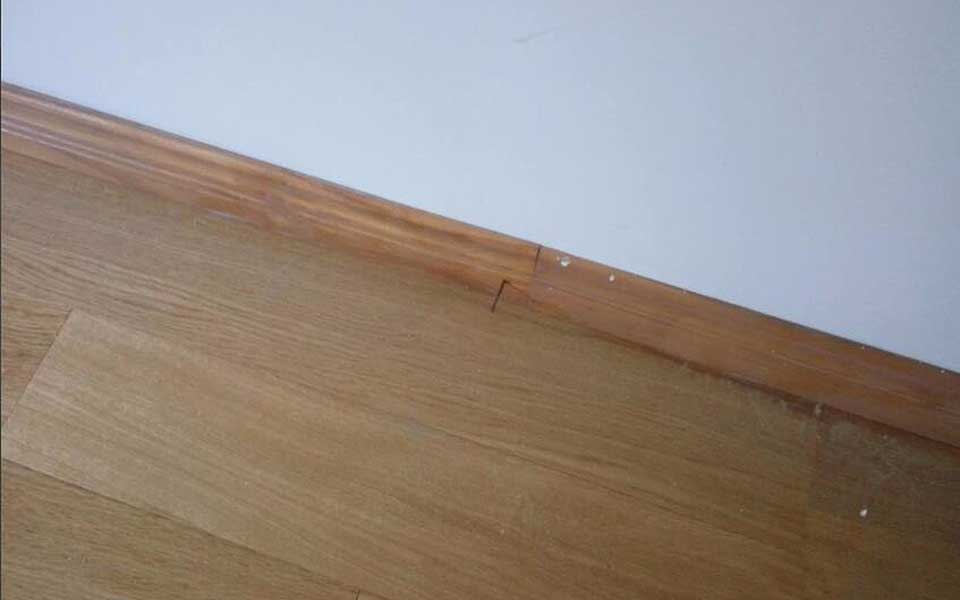
After the floor is installed, place a spring between the floor and the wall. The spring will expand and contract with heat. Use a special iron tool to insert it into the gap.
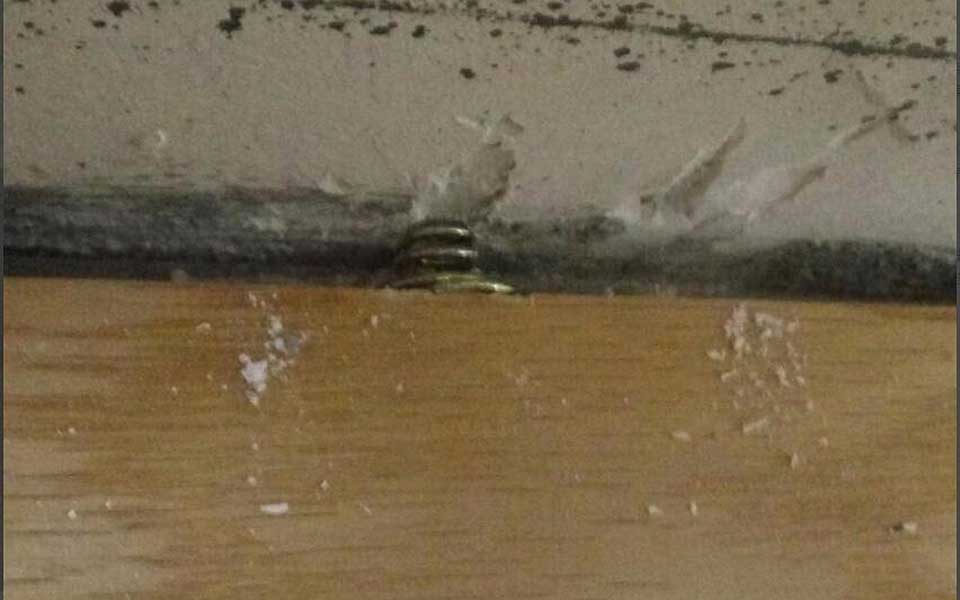
STEP 9.
To install the skirting, you need to fix the skirting on the wall with nails, and seal the skirting and the wall with glass glue.
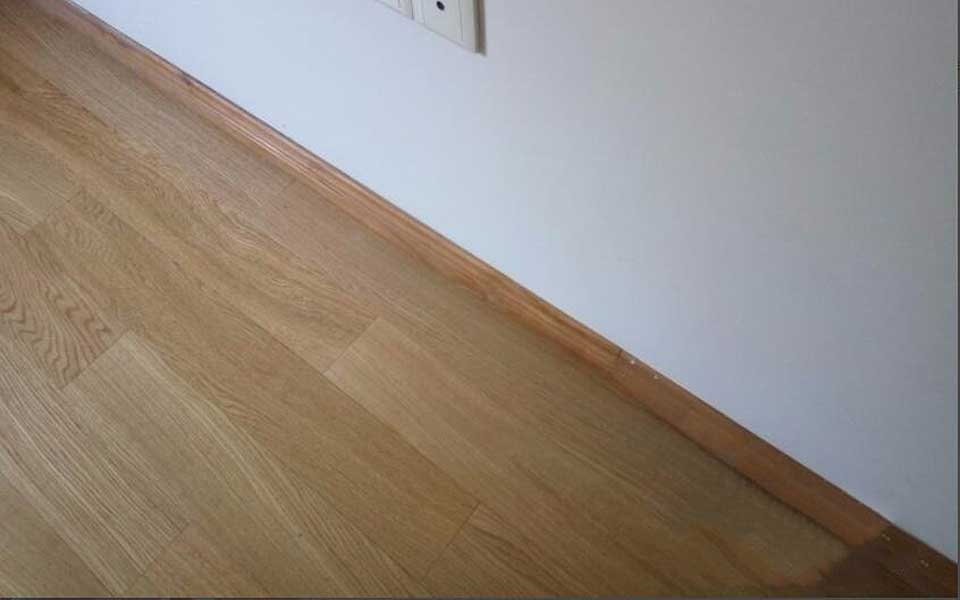
STEP 10.
The floor and skirting are all installed, their colors are still quite matching, and the newly installed floor is also very beautiful, so the installed floor has no sound.
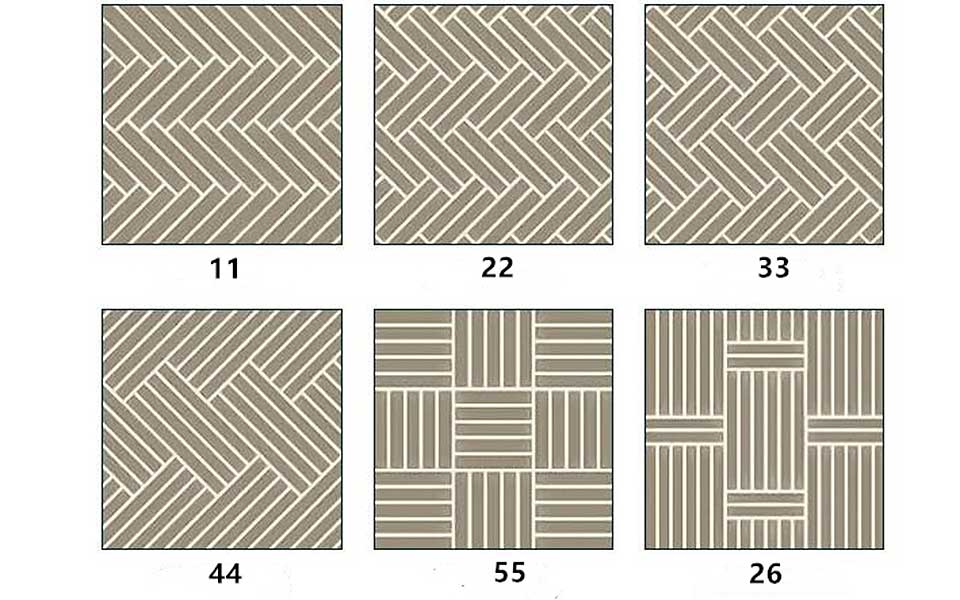
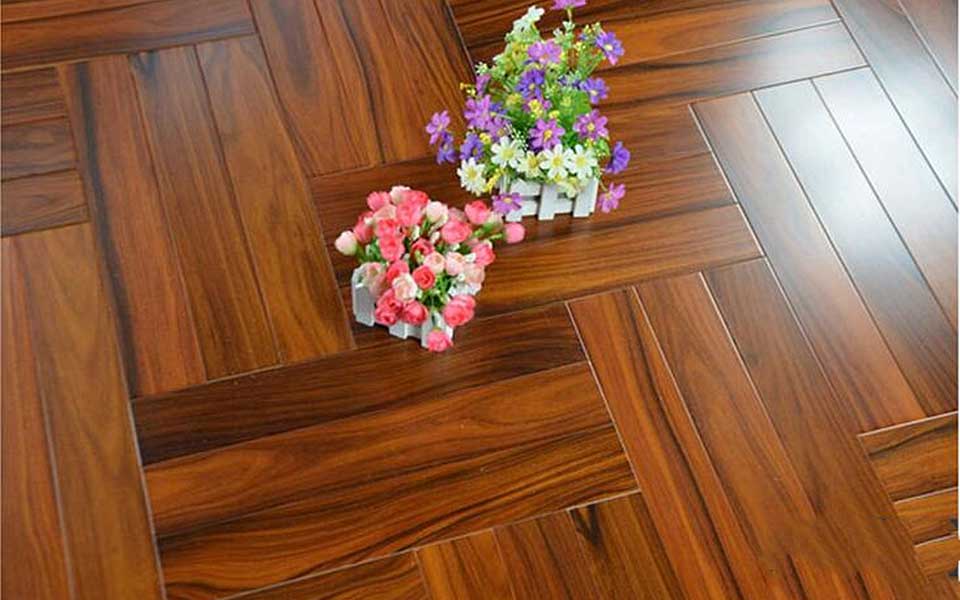
Different Engineering Wooden Flooring, Installation Methods
1.Classic Series Engineered Flooring
2.Herringbone Series Engineered Flooring

3.Chevron Series Engineered Flooring
![]()
![]()
![]()
![]()
![]()
| Fire Protection: | Reaction to fire – wood flooring performs to EN 13501-1 Dn s1 |
| Thermal Conductivity: | EN ISO 10456 and EN ISO 12664 Result 0.15 W/(mk) |
| Moisture Content: | EN 13183 – 1 Requirement: 6% to 9% Average Results: <7% |
| Thermal Conductivity: | EN ISO 10456 / EN ISO 12664 Result 0.15 W / (mk) |
| Release of Formaldehyde: | Class E1 | EN 717 – 1:2006 Result 0.014 mg / m3 Requirement: Less than 3 ppm Result: 0.0053 ppm |
| Slip Resistance: | Tested to BS 7967-2: 2002 (Pendulum Test in PTV values) Oiled Finish results: DRY (66) LOW RISK WET (29) MODERATE RISK There is no current requirement for slip resistance in residential developments. |
| Suitability of use: | Suitable for use with under floor heating in commercial and residential applications |
| Effects from moisture: | Wood flooring will expand if it is exposed to conditions that increases its moisture content beyond 9%. Wood flooring will contract if the prevailing conditions reduce the product moisture content below 6%. Any exposure outside of these parameters will compromise the performance of the product |
| Transmission of Sound: | Wood flooring on its own will offer some assistance to reduce the passage of sound, but it is the build-up of the whole floor and the surroundings that contribute to impact and airborne sound. For accurate assessment’s a qualified engineer should be employed to calculate how to achieve accurate results. |
| Thermal properties: | Solid Wood Flooring boards offer the following values: 20mm thick boards with a 4mm or 6mm top layer will lose 0.10 K/Wm2 15mm boards with a 4mm or 6mm top layer will lose 0.08 K/Wm2 |