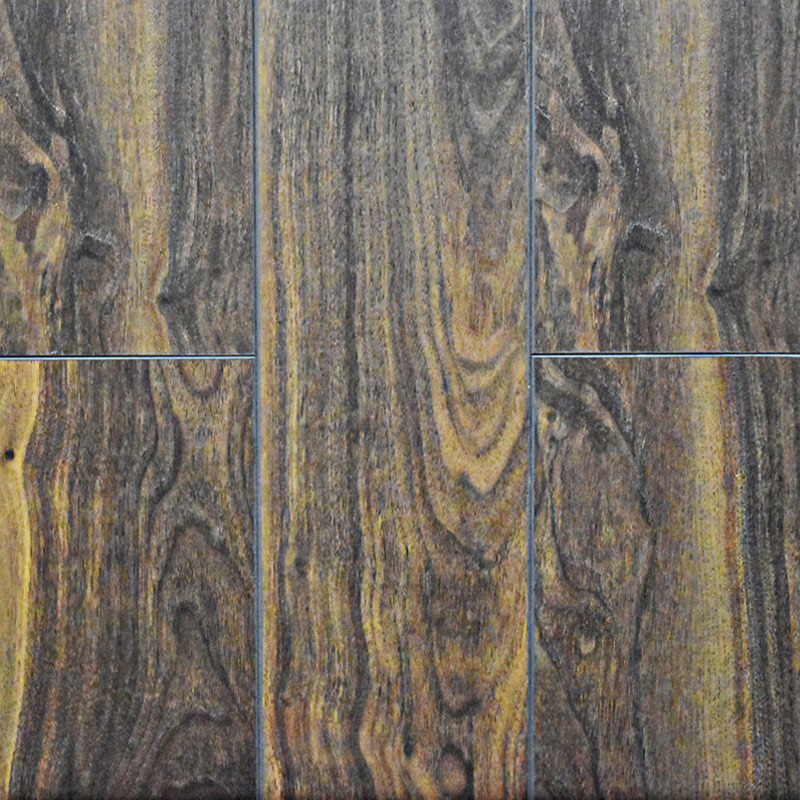
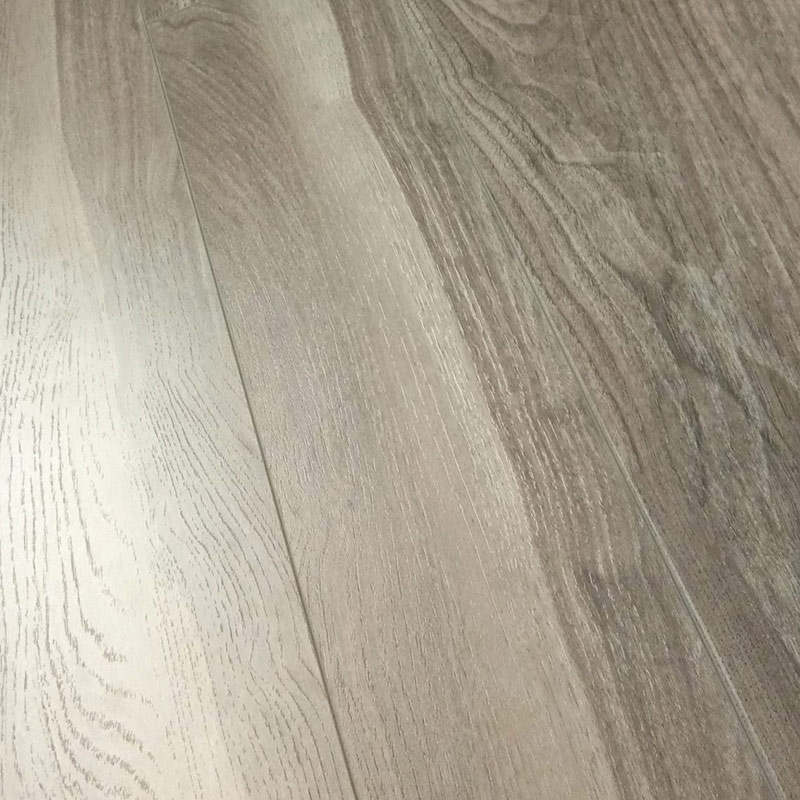


Parameter
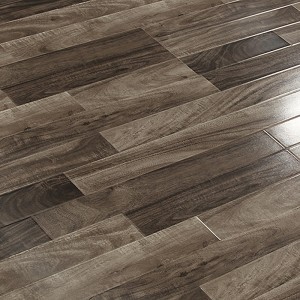
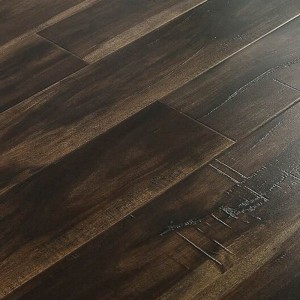
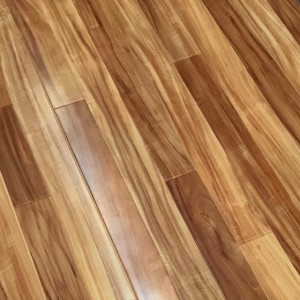
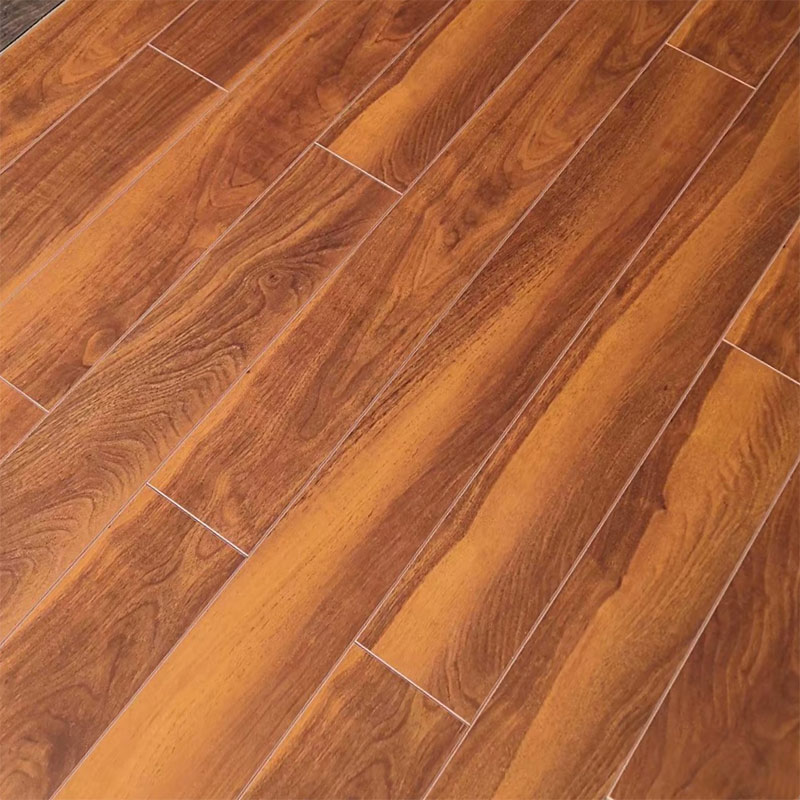
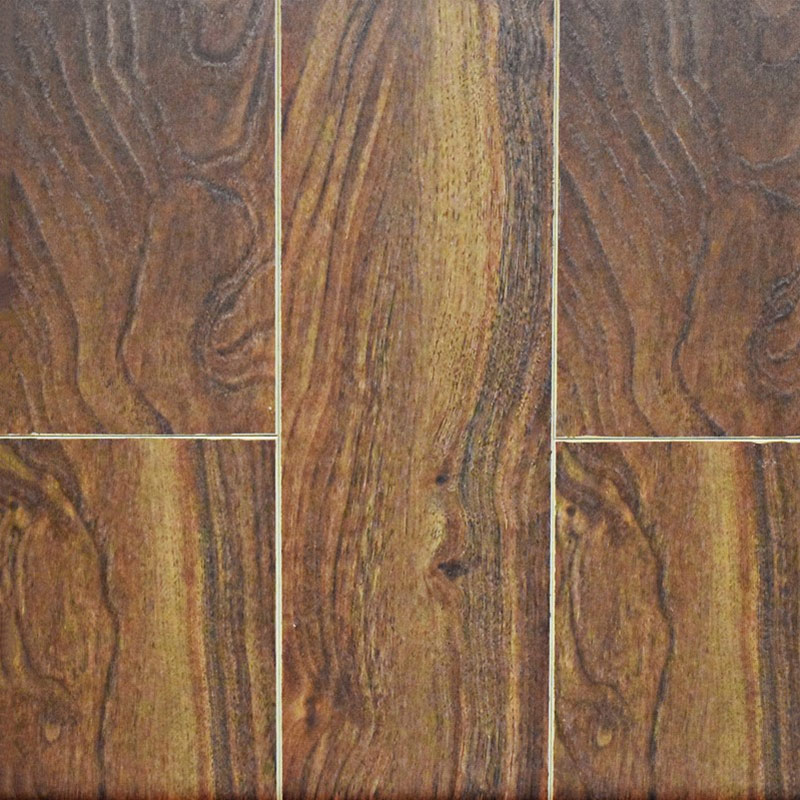
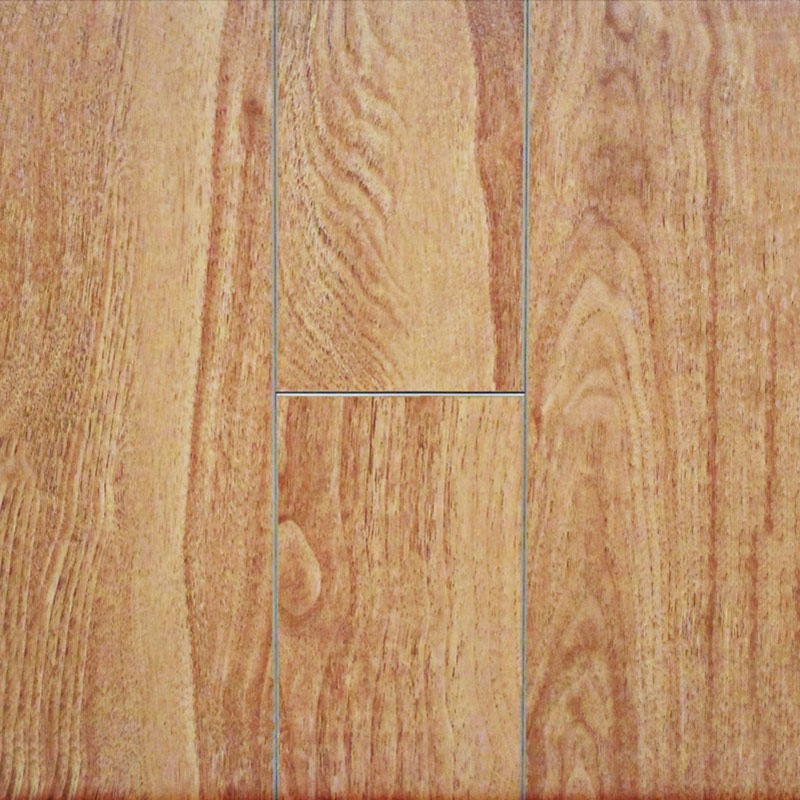
| Color | Walnut Embossed-in-Register (EIR) Laminate | ||
| Thickness | 12mm | ||
| Size | 1218*128mm | ||
| Surface treatment | EIR | ||
| Edge treatment | V-Groove with painting | ||
| Special treatment | Waxing, Logo painted on back ,Soundproof EVA/IXPE | ||
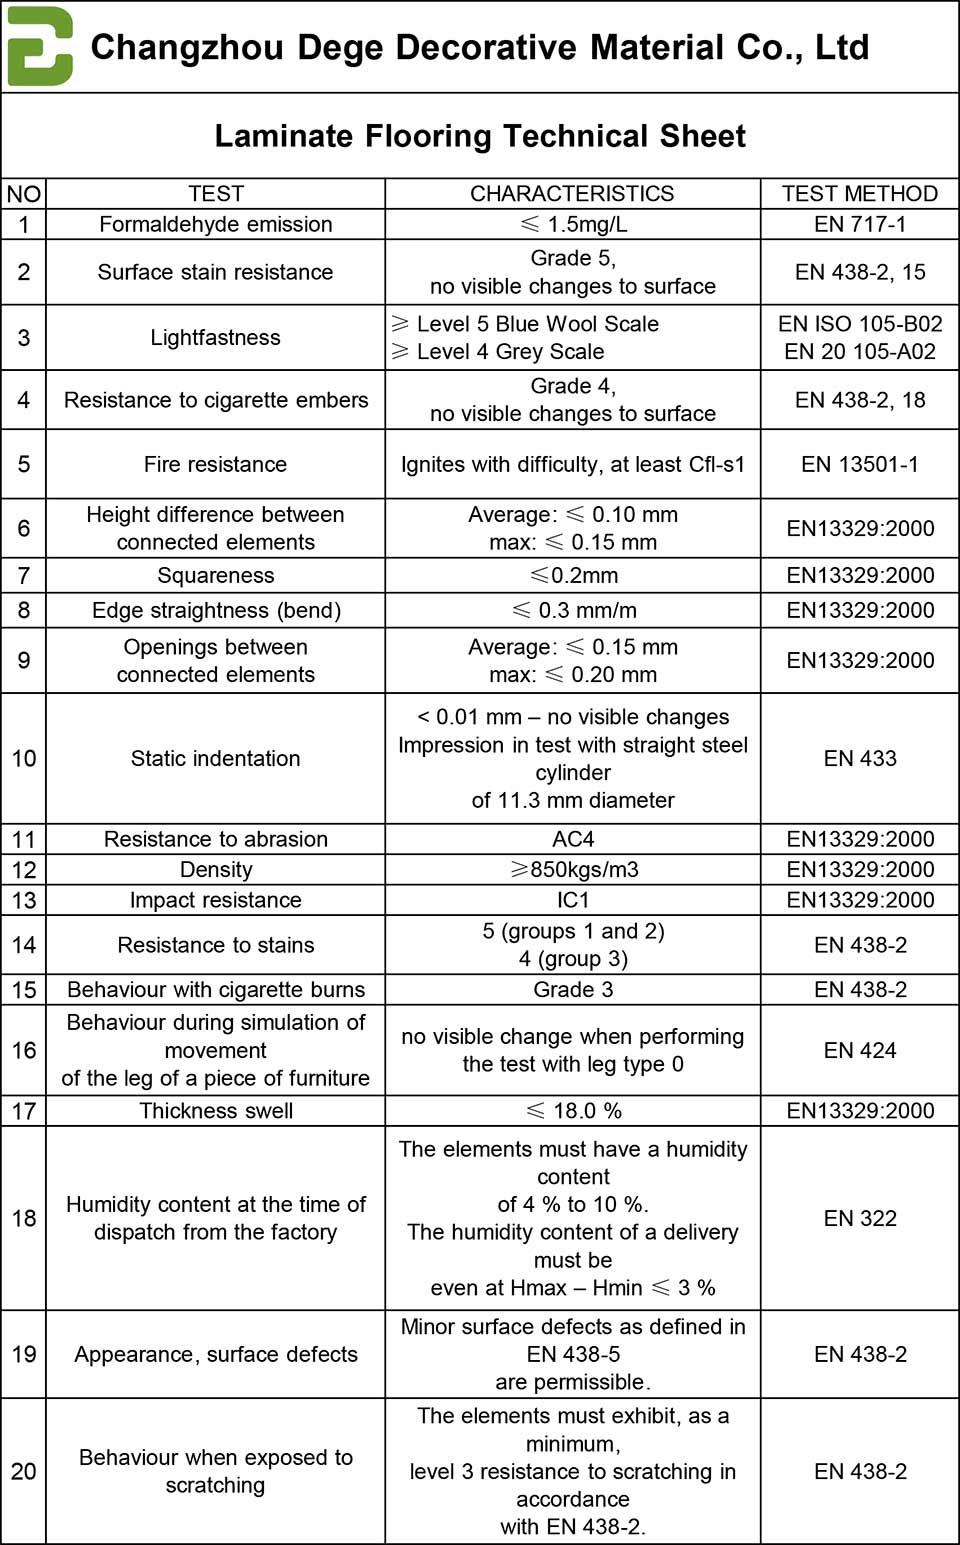
| Wear Resistance | AC3,AC4 standard EN13329 | ||
| Base materials | 800 kg /m³, 850 kg /m³ and 880 kgs /m³ | ||
| Click system | Unilin | ||
| Installation Method | Floating | ||
| Formaldehyde Emission | E1<=1.5mg/L, or E0<=0.5mg/L | ||
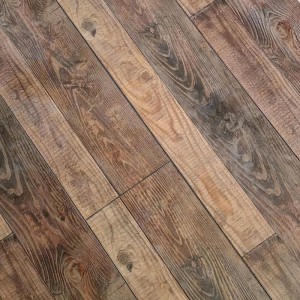
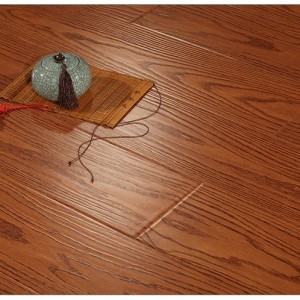
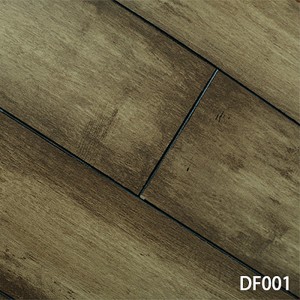
Surface Available

Big Embossed Surface

Piano Surface

Handscraped Surface

Mirror Surface

EIR Surface

Small Embossed Surface

Real Wood Surface

Crystal Surface

Middle Embossed Surface
Click Systems Available

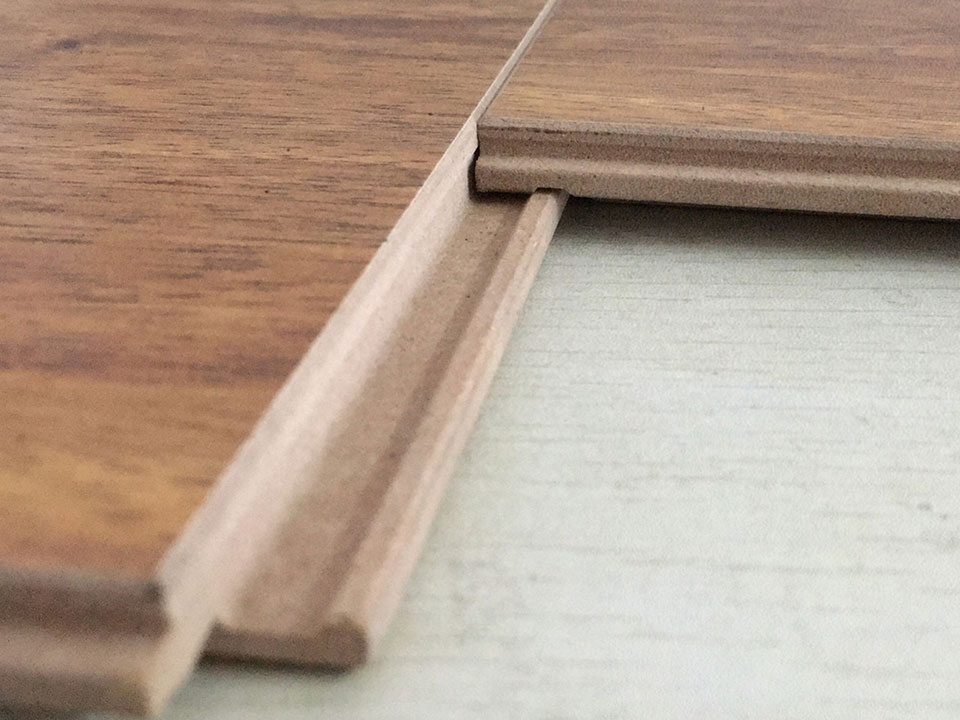
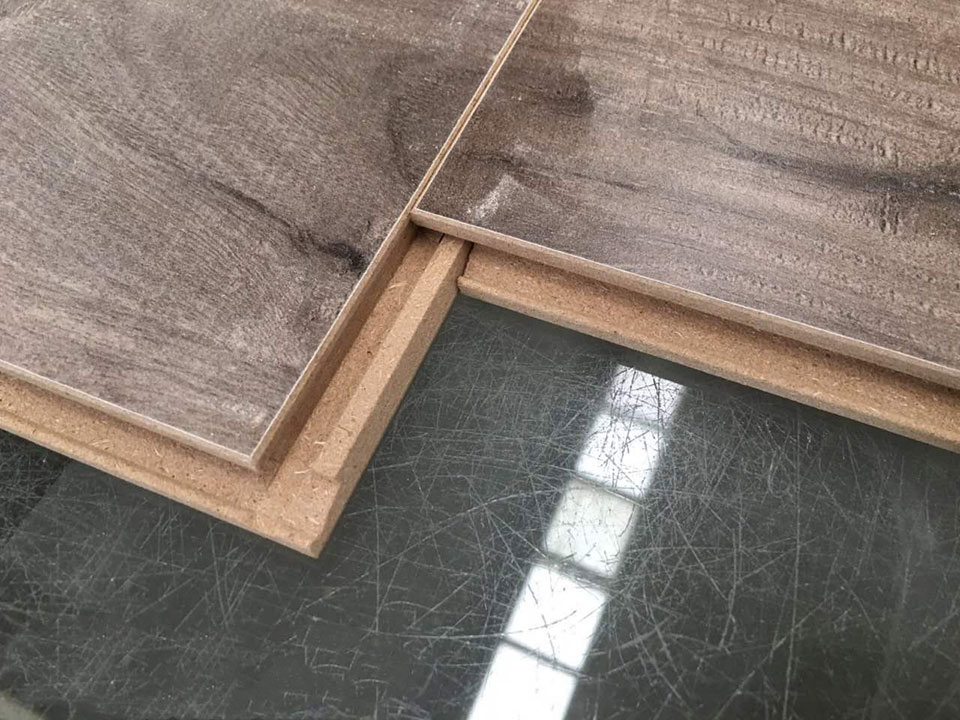
Joint Available


Back Colors Available


Wax Waterproof Treatment Available

Laminate flooring, as a kind of wood flooring, will definitely encounter water during use. As we all know, all wood flooring is not 100% waterproof. However, many laminate flooring manufacturers say that their floors are waterproof. Let me introduce to you the knowledge of the so-called waterproof floor in detail:
First, let us introduce the structure of the waterproof floor. The first layer is a wear-resistant layer, the second layer of dipped decorative paper and the fourth layer of balance paper are waterproof, and the third layer of base material belongs to high-density fiberboard (HDF), the floor Waterproof or not is mainly due to HDF. Some flooring factories use hardwood or pine to make HDF. Because the wood contains grease, the water resistance is better. Generally, this substrate has a particularly good water swelling rate, about 2%-5%; Ordinary HDF Fast-growing poplar is used for production, and a good HDF will add some paraffin, and the water swelling rate is about 12%. Recently, some factories invented the so-called black HDF, also called waterproof HDF. In fact, some additives have been added to it, resulting in a water swelling rate of about 5%. There are also some flooring suppliers that use wax sealing process to play a waterproof role. Because only the bare locks on the four sides of the floor show that it is HDF, so as long as the wax is sealed around the locks, it can have a certain waterproof effect. Use special paraffin wax (containing grease), so that the floor expansion rate can also reach 8%.
In summary, 100% Waterproof Laminate flooring is wrong, it should be laminate flooring with good water resistance
Quality Test

Inspection machine Test

High Glossy Test
Laminate Flooring Package Details
| Packing List | ||||||||
| Size | pcs/ctn | m2/ctn | ctns/pallet | plts/20'cont | ctns/20'cont | kg/ctn | m2/20'cont | kgs/20'cont |
| 1218*198*7mm | 10 | 2.41164 | 70 | 20 | 1400 | 15 | 3376.296 | 21400 |
| 1218*198*8mm | 10 | 2.41164 | 60 | 20 | 1200 | 17.5 | 2893.97 | 21600 |
| 1218*198*8mm | 8 | 1.929312 | 70 | 20 | 1400 | 14 | 2701 | 20000 |
| 1218*198*10mm | 9 | 2.170476 | 55 | 20 | 1100 | 17.9 | 2387.5236 | 20500 |
| 1218*198*10mm | 7 | 1.688148 | 70 | 20 | 1400 | 13.93 | 2363.4072 | 20500 |
| 1218*198*12mm | 8 | 1.929312 | 50 | 20 | 1000 | 20 | 1929.312 | 20600 |
| 1218*198*12mm | 6 | 1.446984 | 65 | 20 | 1300 | 15 | 1881 | 19900 |
| 1215*145*8mm | 12 | 2.1141 | 60 | 20 | 1200 | 15.5 | 2536 | 19000 |
| 1215*145*10mm | 10 | 1.76175 | 65 | 20 | 1300 | 14.5 | 2290.275 | 19500 |
| 1215*145*12mm | 10 | 1.76175 | 52 | 20 | 1040 | 17.5 | 1832 | 18600 |
| 810*130*8mm | 30 | 3.159 | 45 | 20 | 900 | 21 | 2843.1 | 19216 |
| 810*130*10mm | 24 | 2.5272 | 45 | 20 | 900 | 21 | 2274.48 | 19216 |
| 810*130*12mm | 20 | 2.106 | 45 | 20 | 900 | 21 | 1895.4 | 19216 |
| 810*150*8mm | 30 | 3.645 | 40 | 20 | 800 | 24.5 | 2916 | 19608 |
| 810*150*10mm | 24 | 2.916 | 40 | 20 | 800 | 24.5 | 2332.8 | 19608 |
| 810*150*12mm | 20 | 2.43 | 40 | 20 | 800 | 24.5 | 1944 | 19608 |
| 810*103*8mm | 45 | 3.75435 | 32 | 24 | 768 | 27.2 | 2883 | 21289.6 |
| 810*103*12mm | 30 | 2.5029 | 32 | 24 | 768 | 26 | 1922 | 20368 |
| 1220*200*8mm | 8 | 1.952 | 70 | 20 | 1400 | 14.5 | 2732 | 20700 |
| 1220*200*12mm | 6 | 1.464 | 65 | 20 | 1300 | 15 | 1903 | 19900 |
| 1220*170*12mm | 8 | 1.6592 | 60 | 20 | 1200 | 17 | 1991 | 20800 |
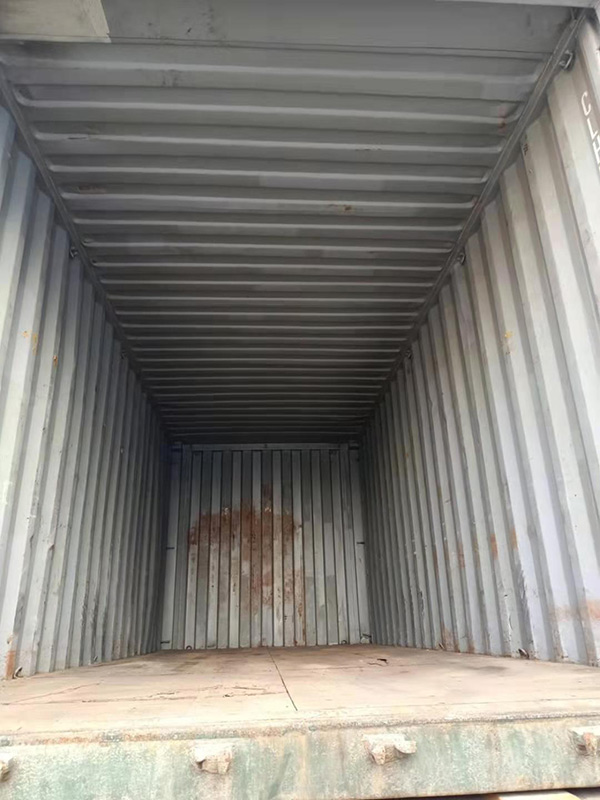
Warehouse

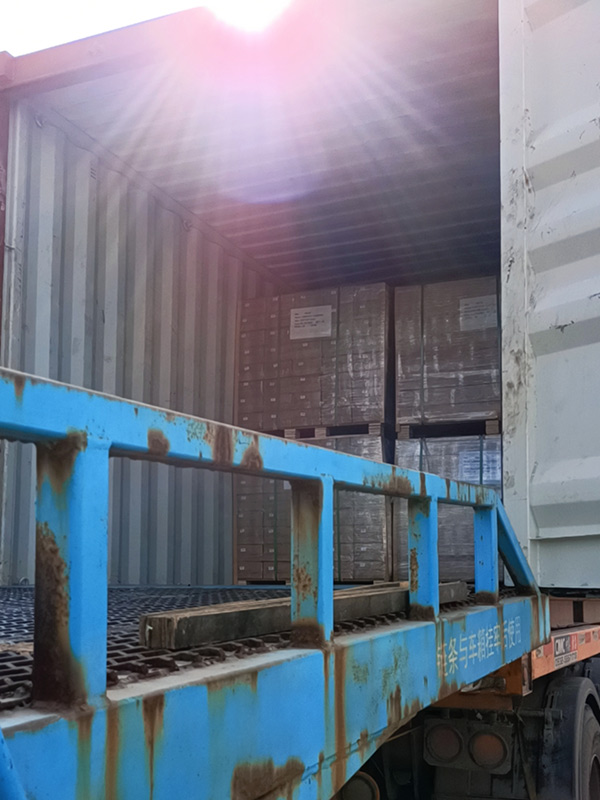
Laminate Flooring Container Loading -- Pallet
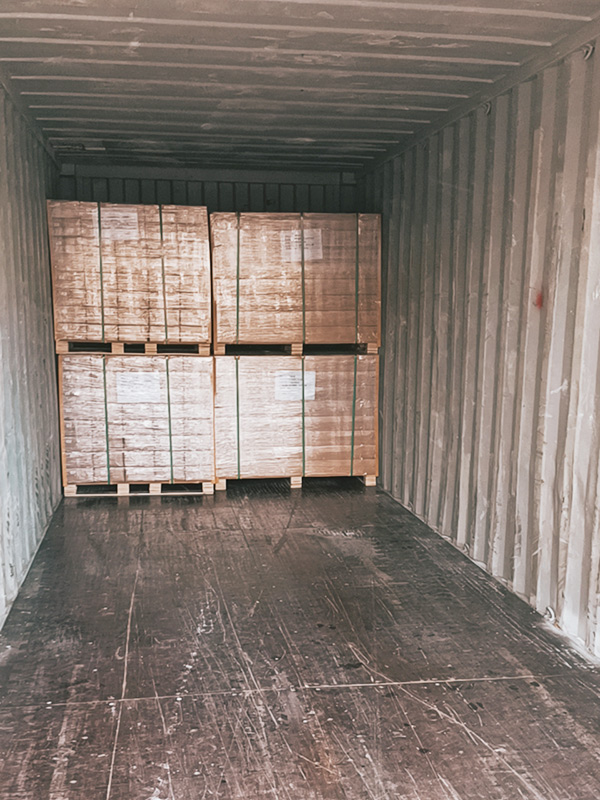
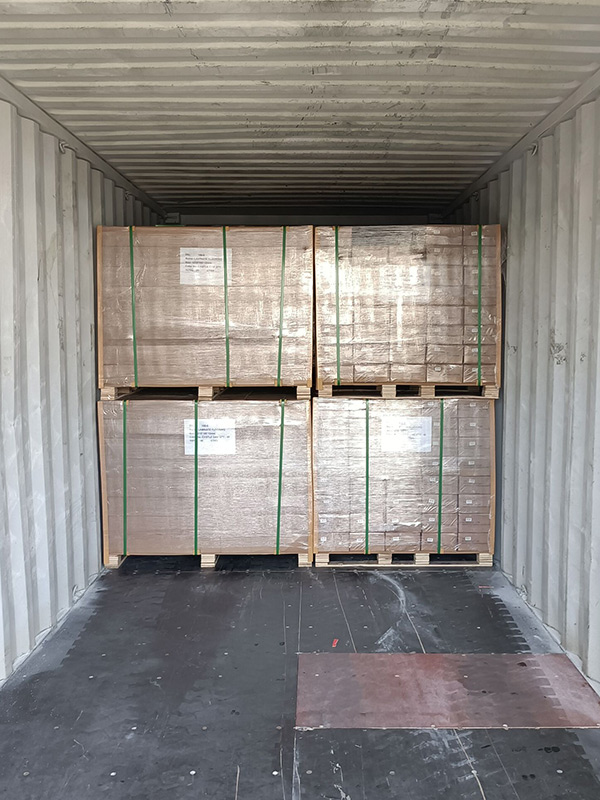


Warehouse

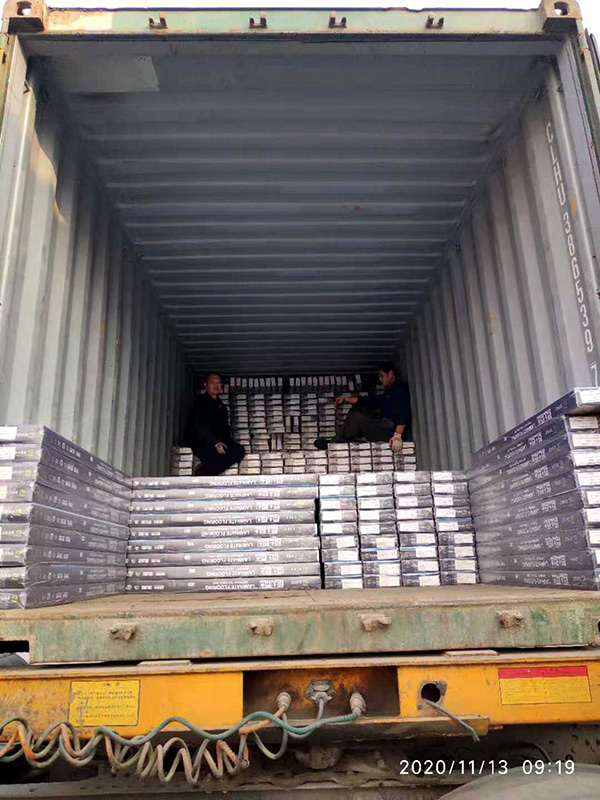
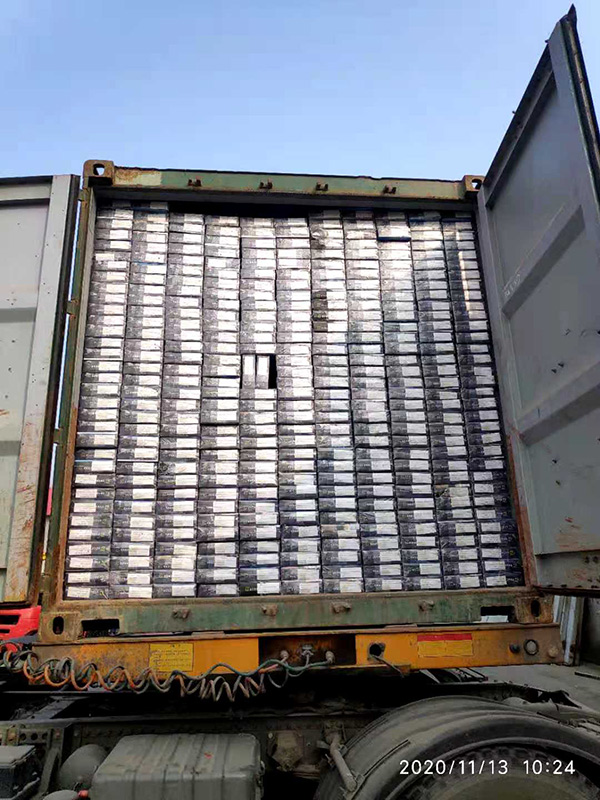
Laminate Flooring Container Loading -- Carton


 1. Teach you how to install laminate flooring by yourself
Step 1: Prepare tools
Tools required:
1. Utility knife ; 2. Tape measure ; 3. Pencil ; 4. Hand saw; 5. Spacer ; 6. Hammer ; 7. Rocking rod
Material requirements:
1. Laminate floor 2. Nail 3. Underlayment
Step 2: Preparation before installation
1. Laminate flooring adapts to the environment
Please put the laminate flooring you have purchased in the room to be laid at least 2 days in advance, and give them enough time to adapt to the expansion or contraction of the room temperature and humidity. This prevents bending or other problems after installation.
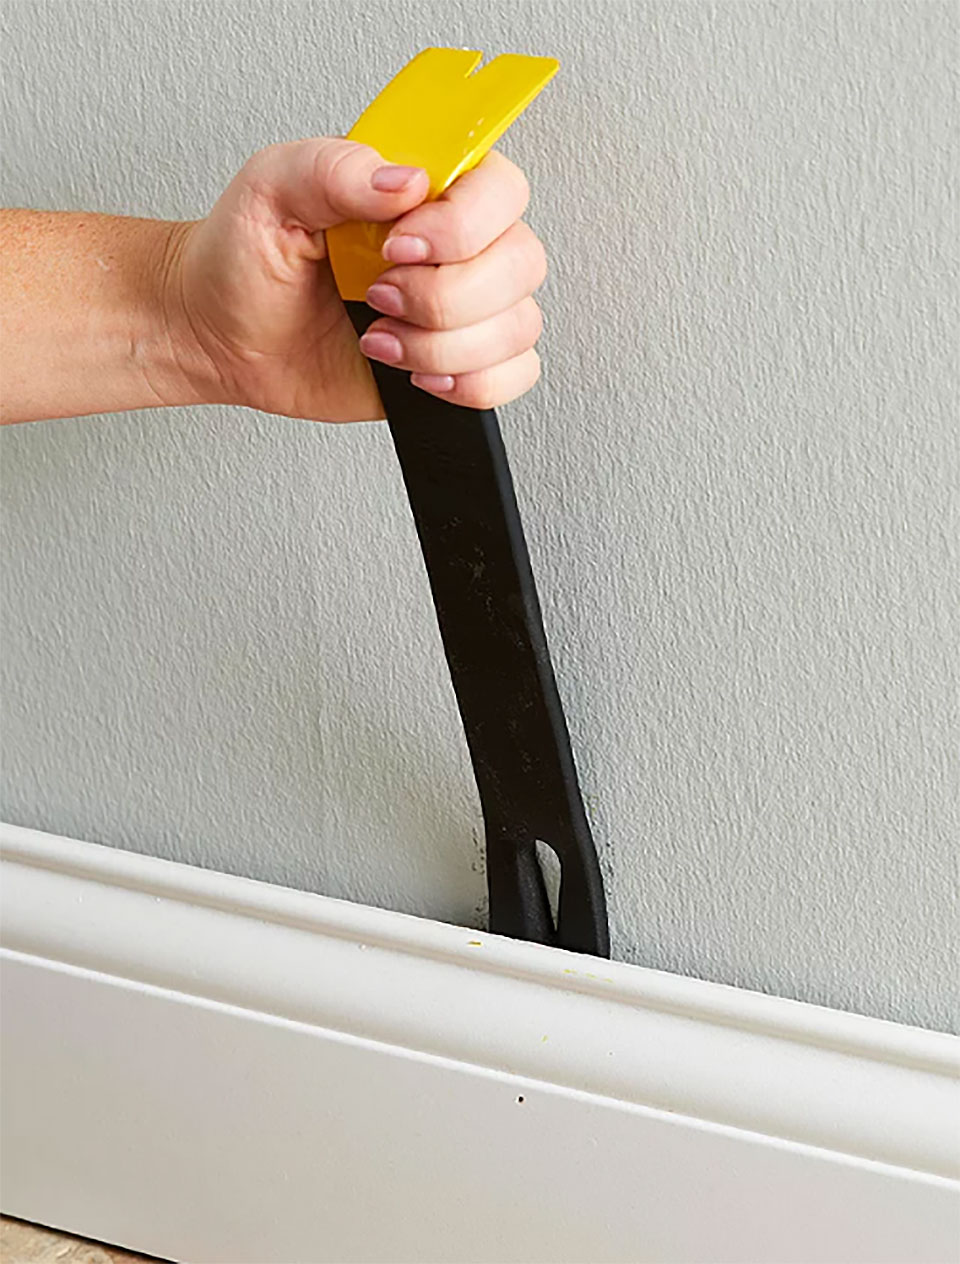
2. Remove the skirting
Remove the existing skirting line from the wall using a pry bar. Put the part aside and reinstall it. Floating laminate (the kind used in this project) should be installed on a hard, smooth surface, such as vinyl. If the existing floor is damaged, remove it to expose the floor.
Step 3: Start the installation
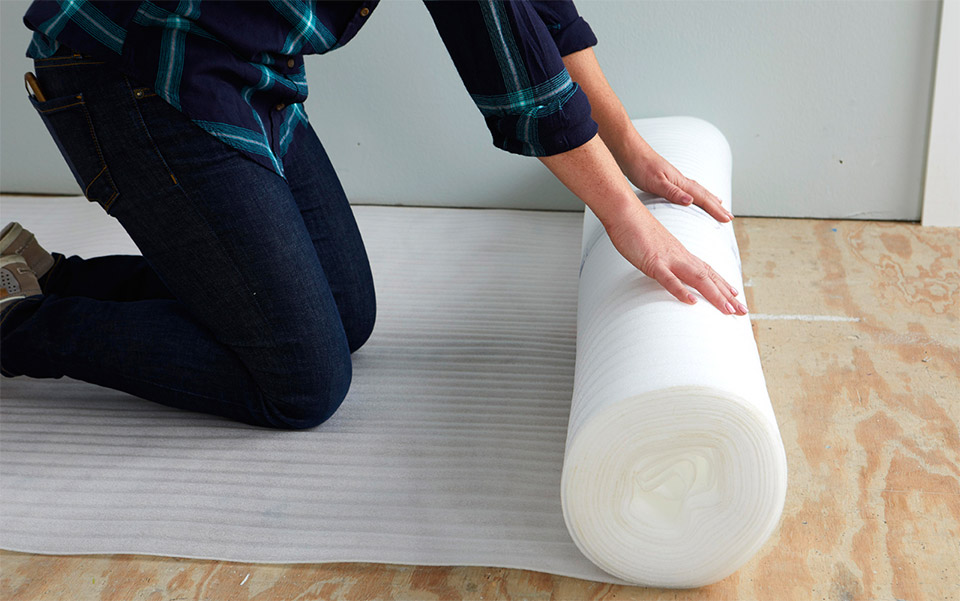
Installation base materials
1. Installation base
Install the cushion to the floating laminate floor. Remove staples, nails and other debris from the floor. Do not overlap adjacent strips, use a utility knife to chop them as needed. The foam padding can attenuate the sound and help the floor feel more elastic and durable.
2. Planning the layout
To determine the direction of the plank, consider which wall is the longest and the straightest. Avoid narrow strips on the focal wall. The plank in the last row should be at least 2 inches wide. Draw a picture on the 1/4 inch gap of each wall.
Note: If the width of the last row is less than 2 inches, add this width to the width of the whole board and divide it by 2, and cut the first and last rows of boards to this width.
3. Cutting work
Depending on your layout, you may need to tear or cut the first row of boards longitudinally. If using an electric saw, cut the finished side down; if using a hand saw, cut the finished side up. When cutting boards, use clamps to fix the boards.
4. Reserve space
Laminate flooring kits require space to be wedged between the wall and the planks to leave a 1/4 inch expansion joint. Once the base plate is installed, it will not be visible.
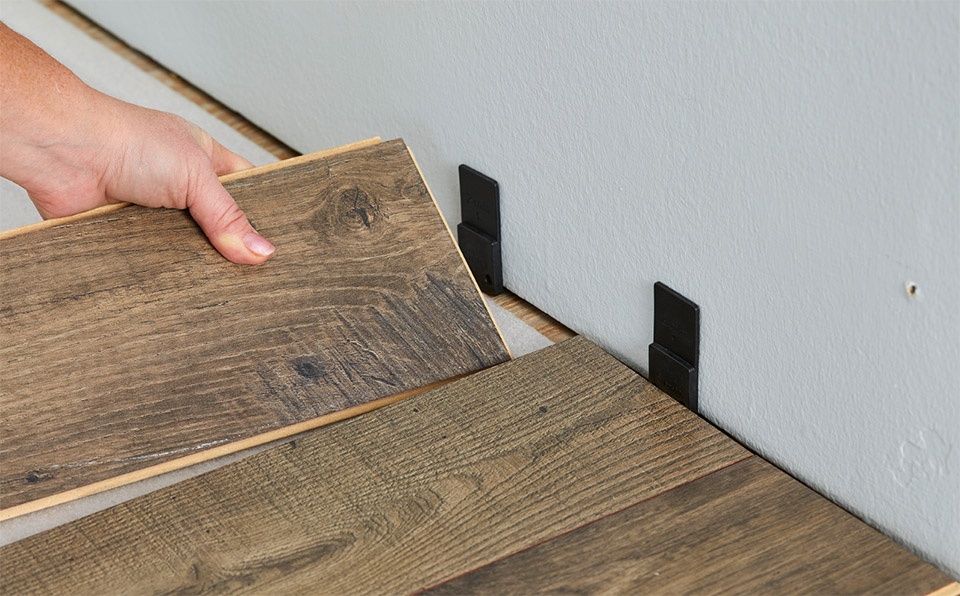
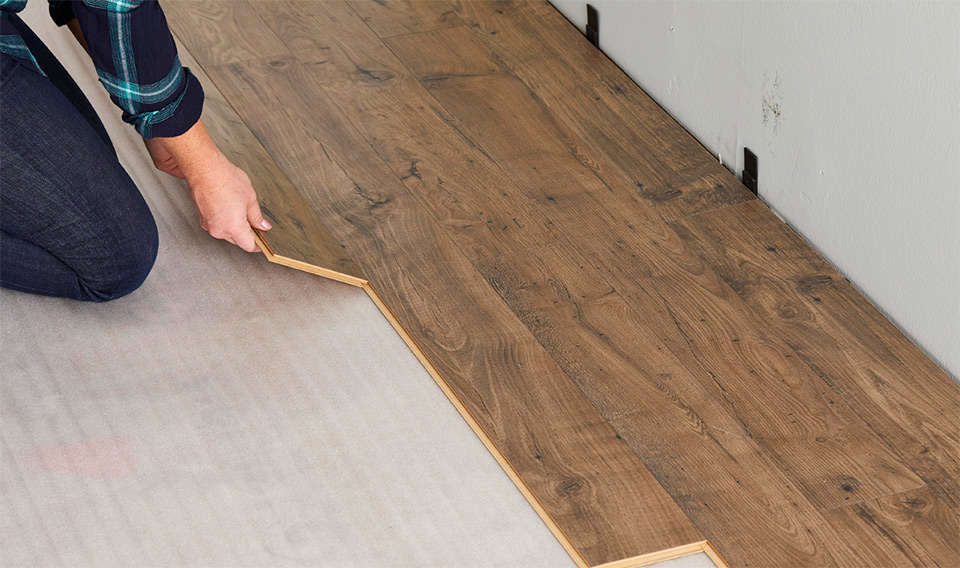
5. Shop the first row
Install the tongue side of the plank facing the wall (some manufacturers recommend that you cut off the tongue of the plank facing the wall). Connect one plank to another by connecting tongues and grooves. You may be able to connect the boards tightly by hand, or you may need to use the tie rods and hammers in the installation kit to pull them together, or use tapping blocks to screw the joints together. Cut the last board in the row to length (if it is at least 12 inches long, keep these small pieces).
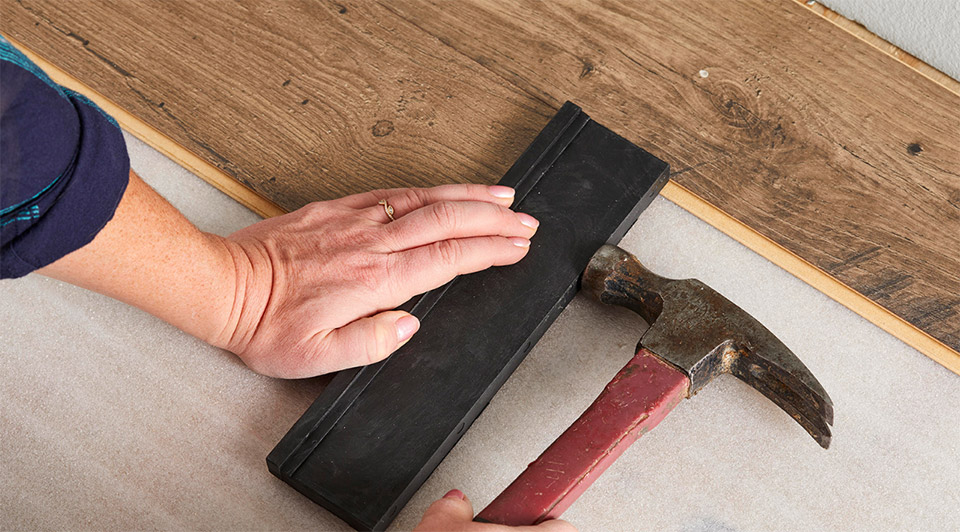
6. Install other lines
When installing other rows, stagger the seams in adjacent rows by at least 12 inches, as seen on wooden or brick walls. Usually, you can start a new line with scrap from the cut plank to end the previous line.
7. Install the last line
In the last row, you need to slide the plank into place at an angle, and then gently pry it into place with a pry bar. Make sure to leave a 1/4 inch expansion joint between the last row and the wall.

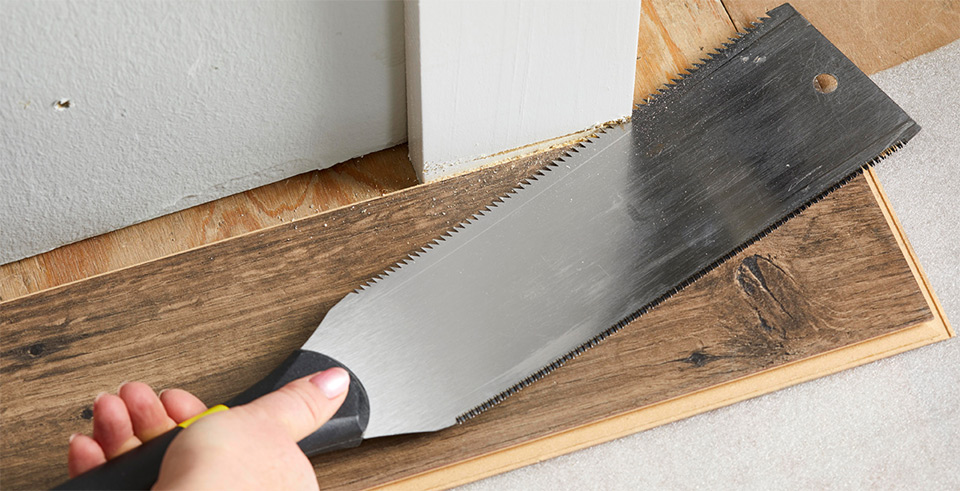
8. Cut the door frame
Don’t try to cut the plank to fit the door frame. Instead, use a side saw to cut the door frame to about 1/16 inch higher than the floor height, so that the board room can slide under the frame. Place a cushioned floor on the floor and close to the shell. Place the door frame saw on the top, and then cut the shell to the desired height.
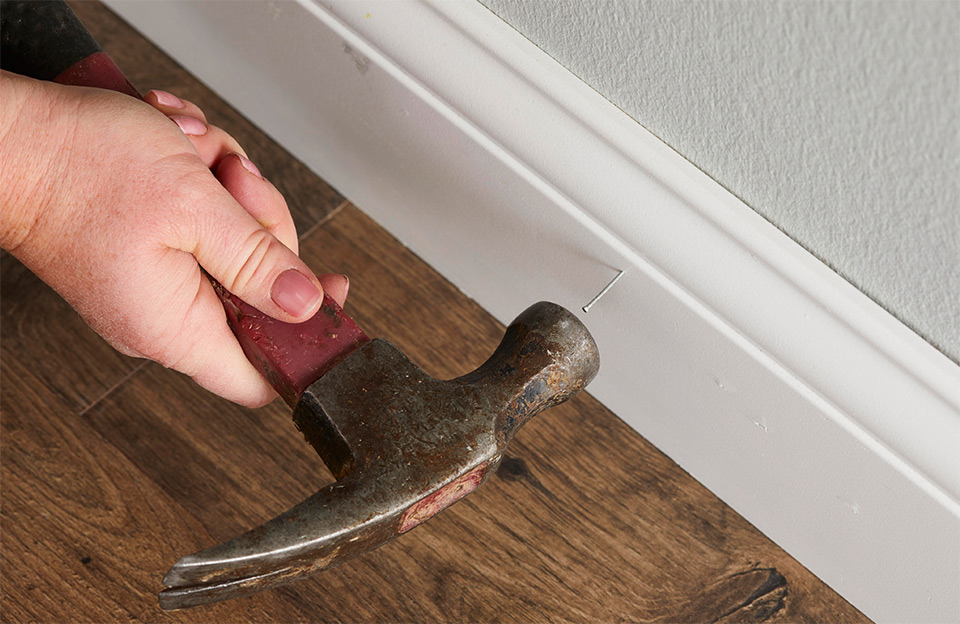
9. Reinstall other materials
Reinstall the decorative strip. After the plank is in place, use a hammer and nails to reinstall the flooring skirting trim. Then, install the shoe mold on the expansion joint and use the transition strip to connect the laminate to the adjacent surface, such as tile or carpet. Don’t nail it to the floor, but nail it to the decorations and walls.
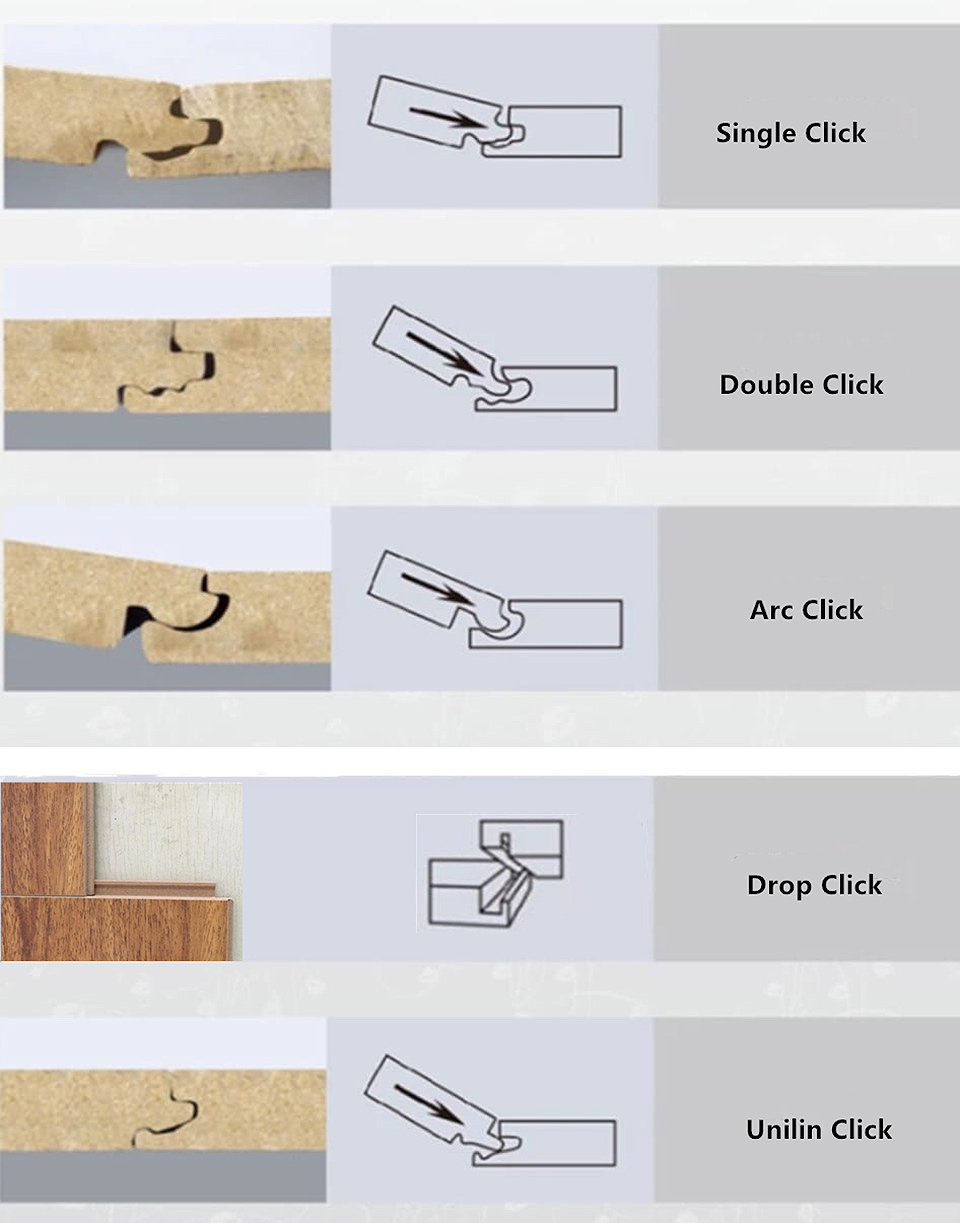
2. Laminate flooring click system
It include different click system, just click shape is different , but same install way.
It name , Single click , Double click ,Arc click , Drop click, Unilin click , Valinge click.
3. Newest Laminate flooring lock system
12mm Drop click laminate flooring best advantage is Fast Install, Save more 50% install laminate wooden flooring times.